transparent mold

Transparent mold for flow analysis

Transparent mold for flow analysis

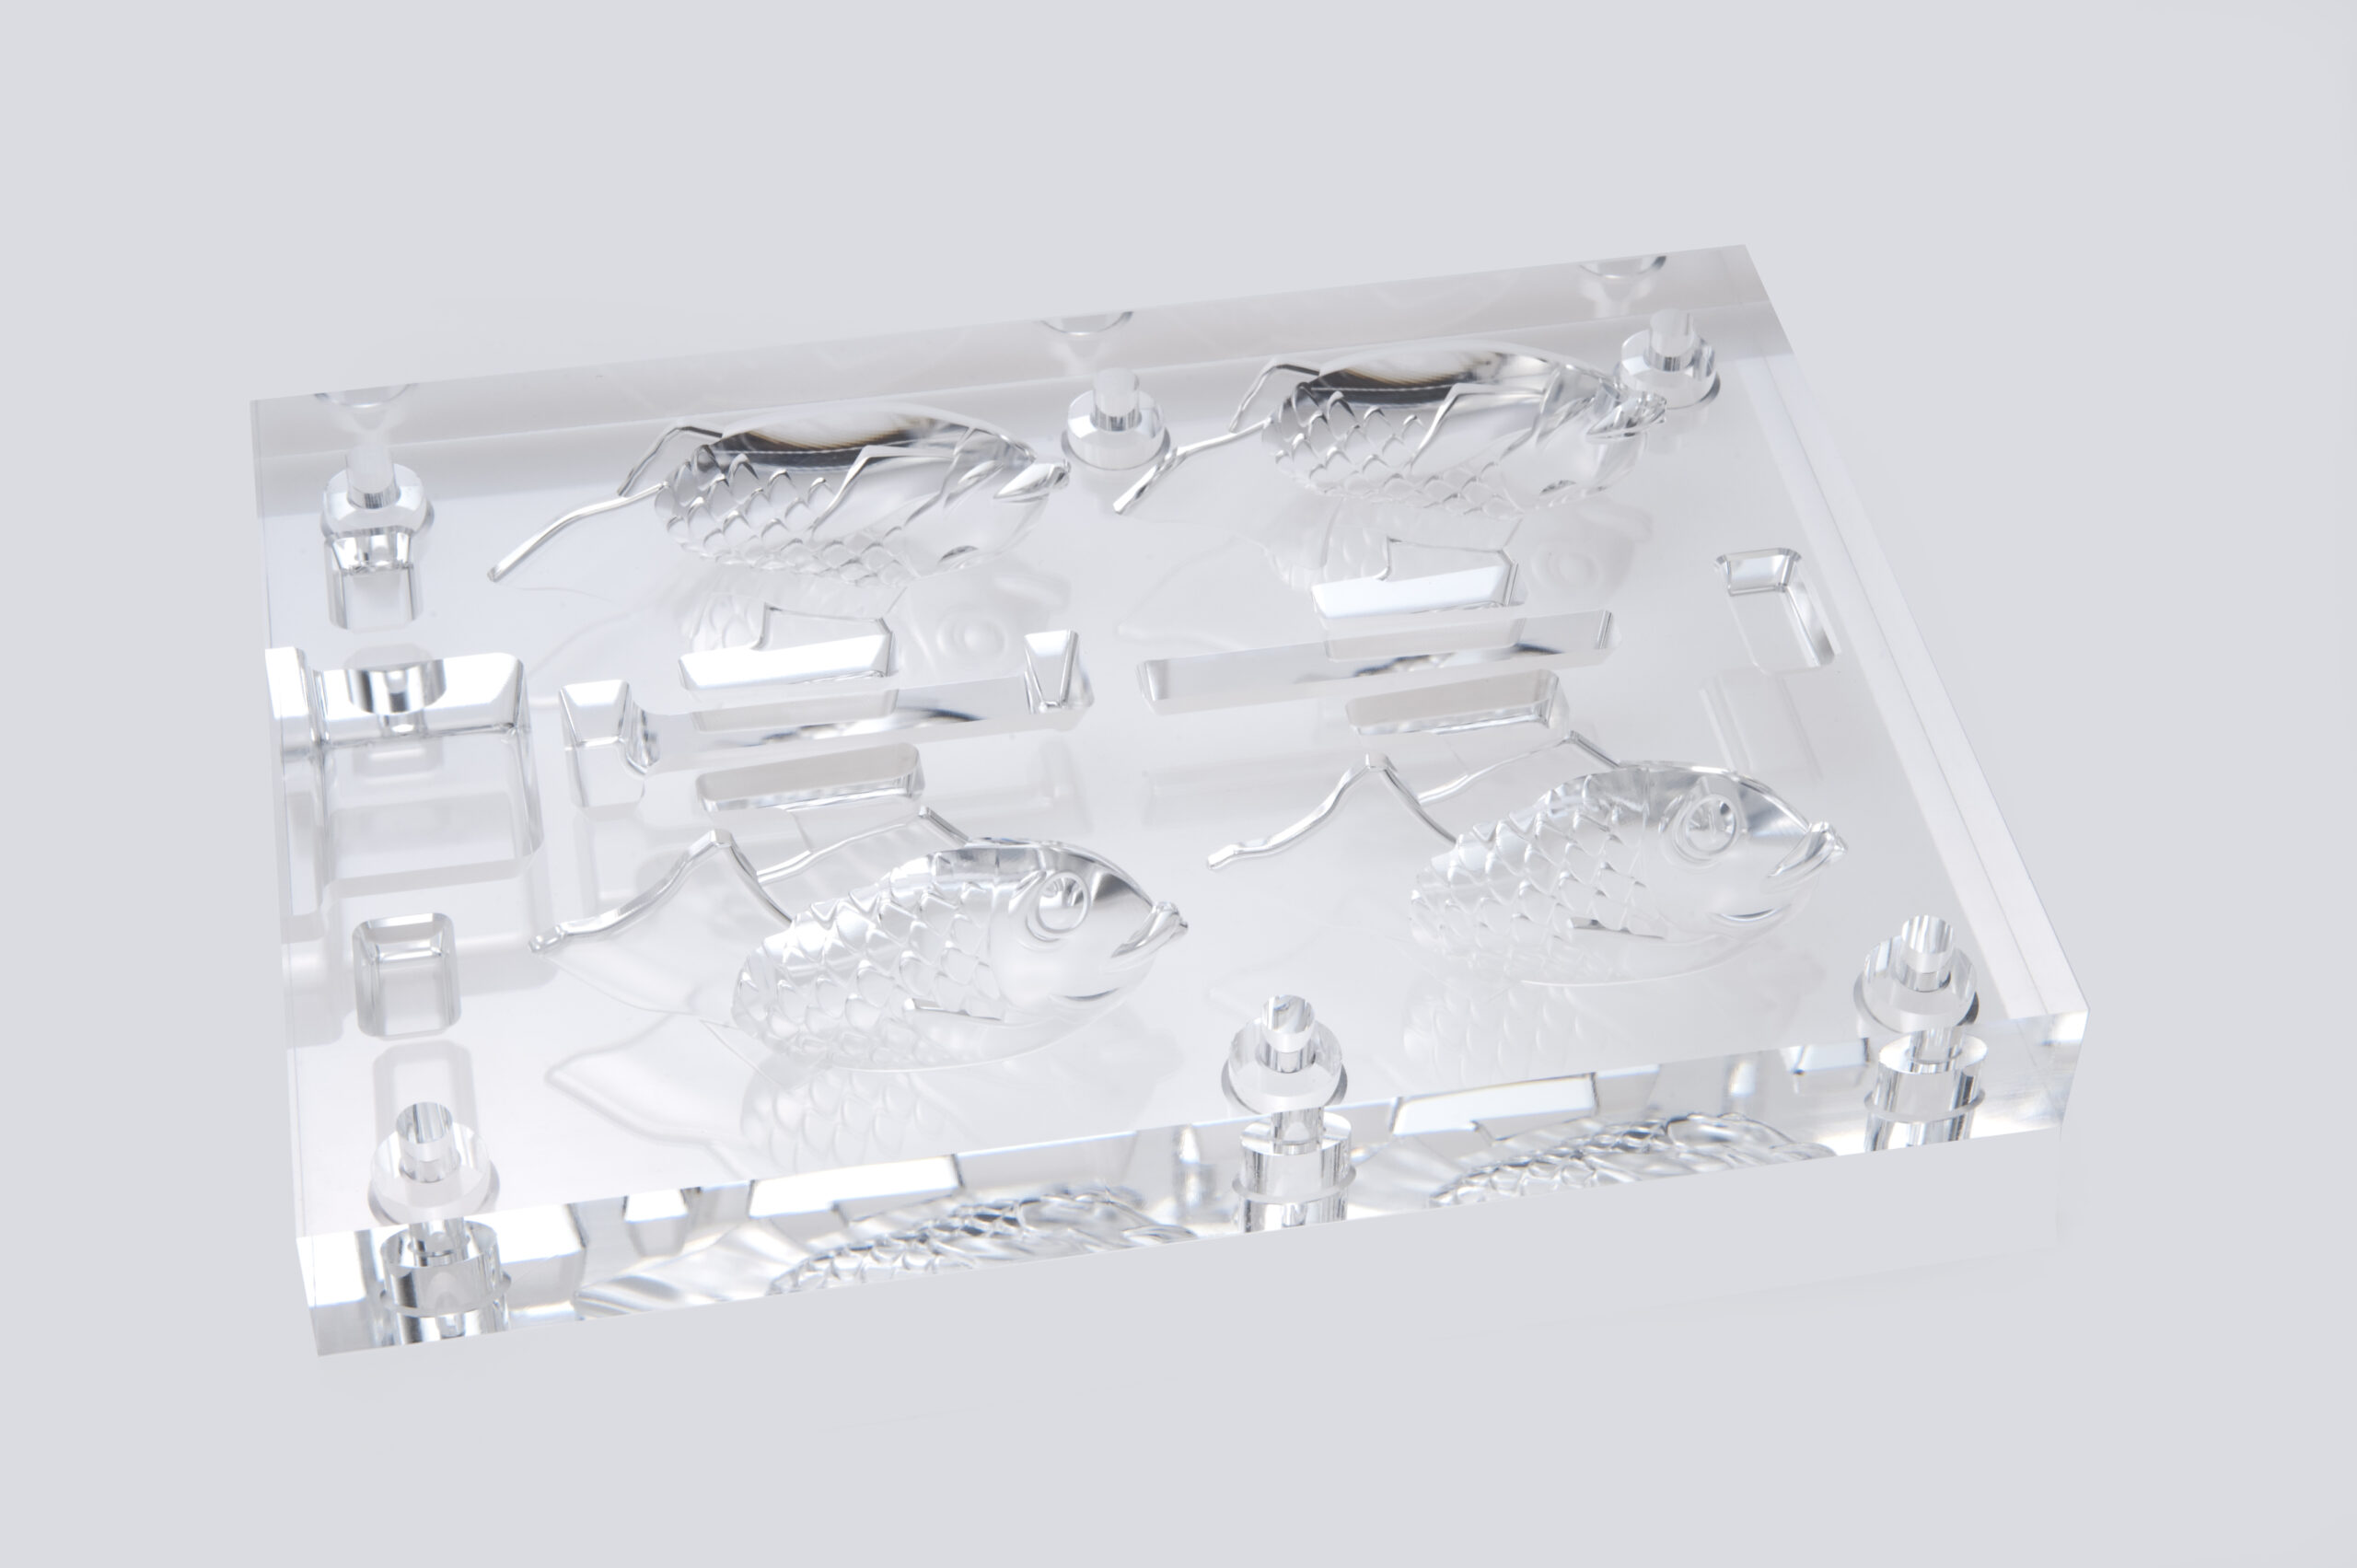
High transparency acrylic machining without polishing

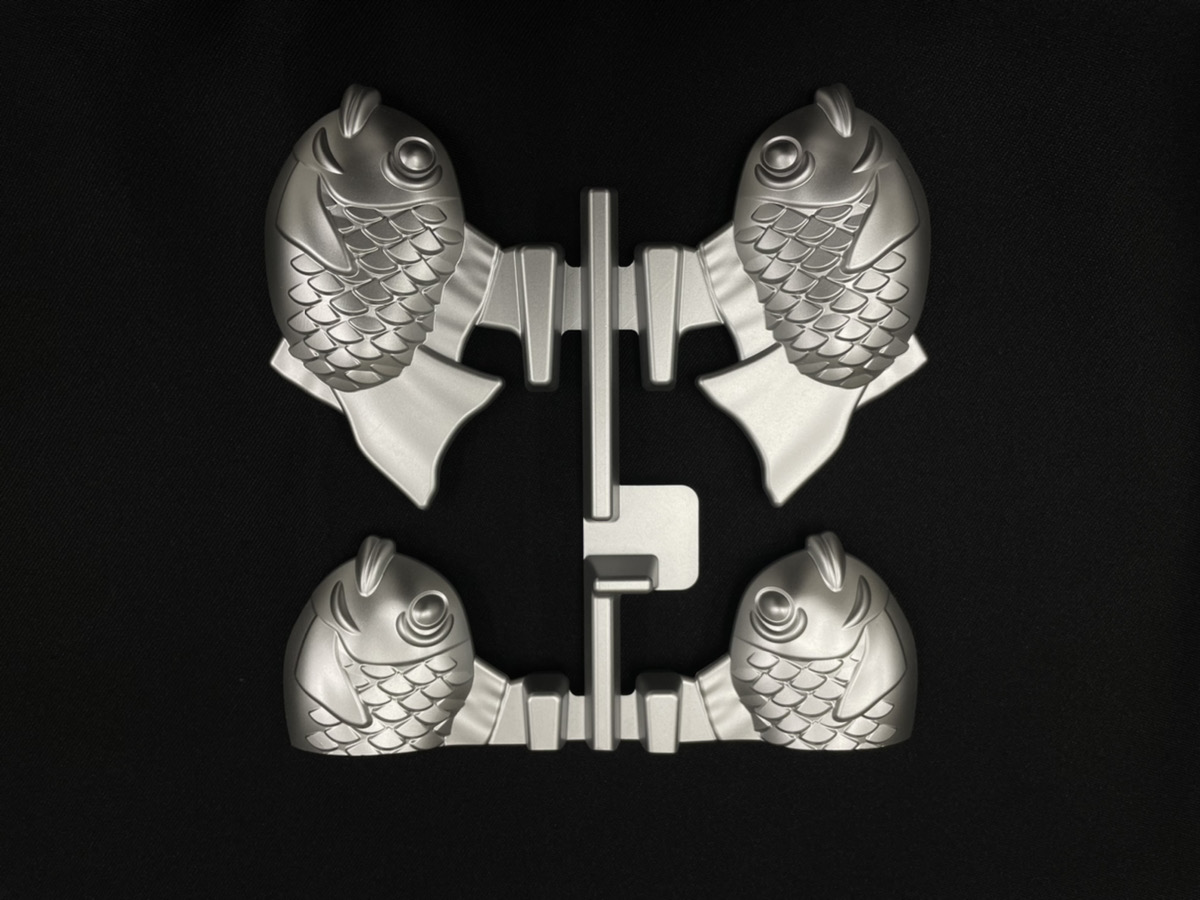
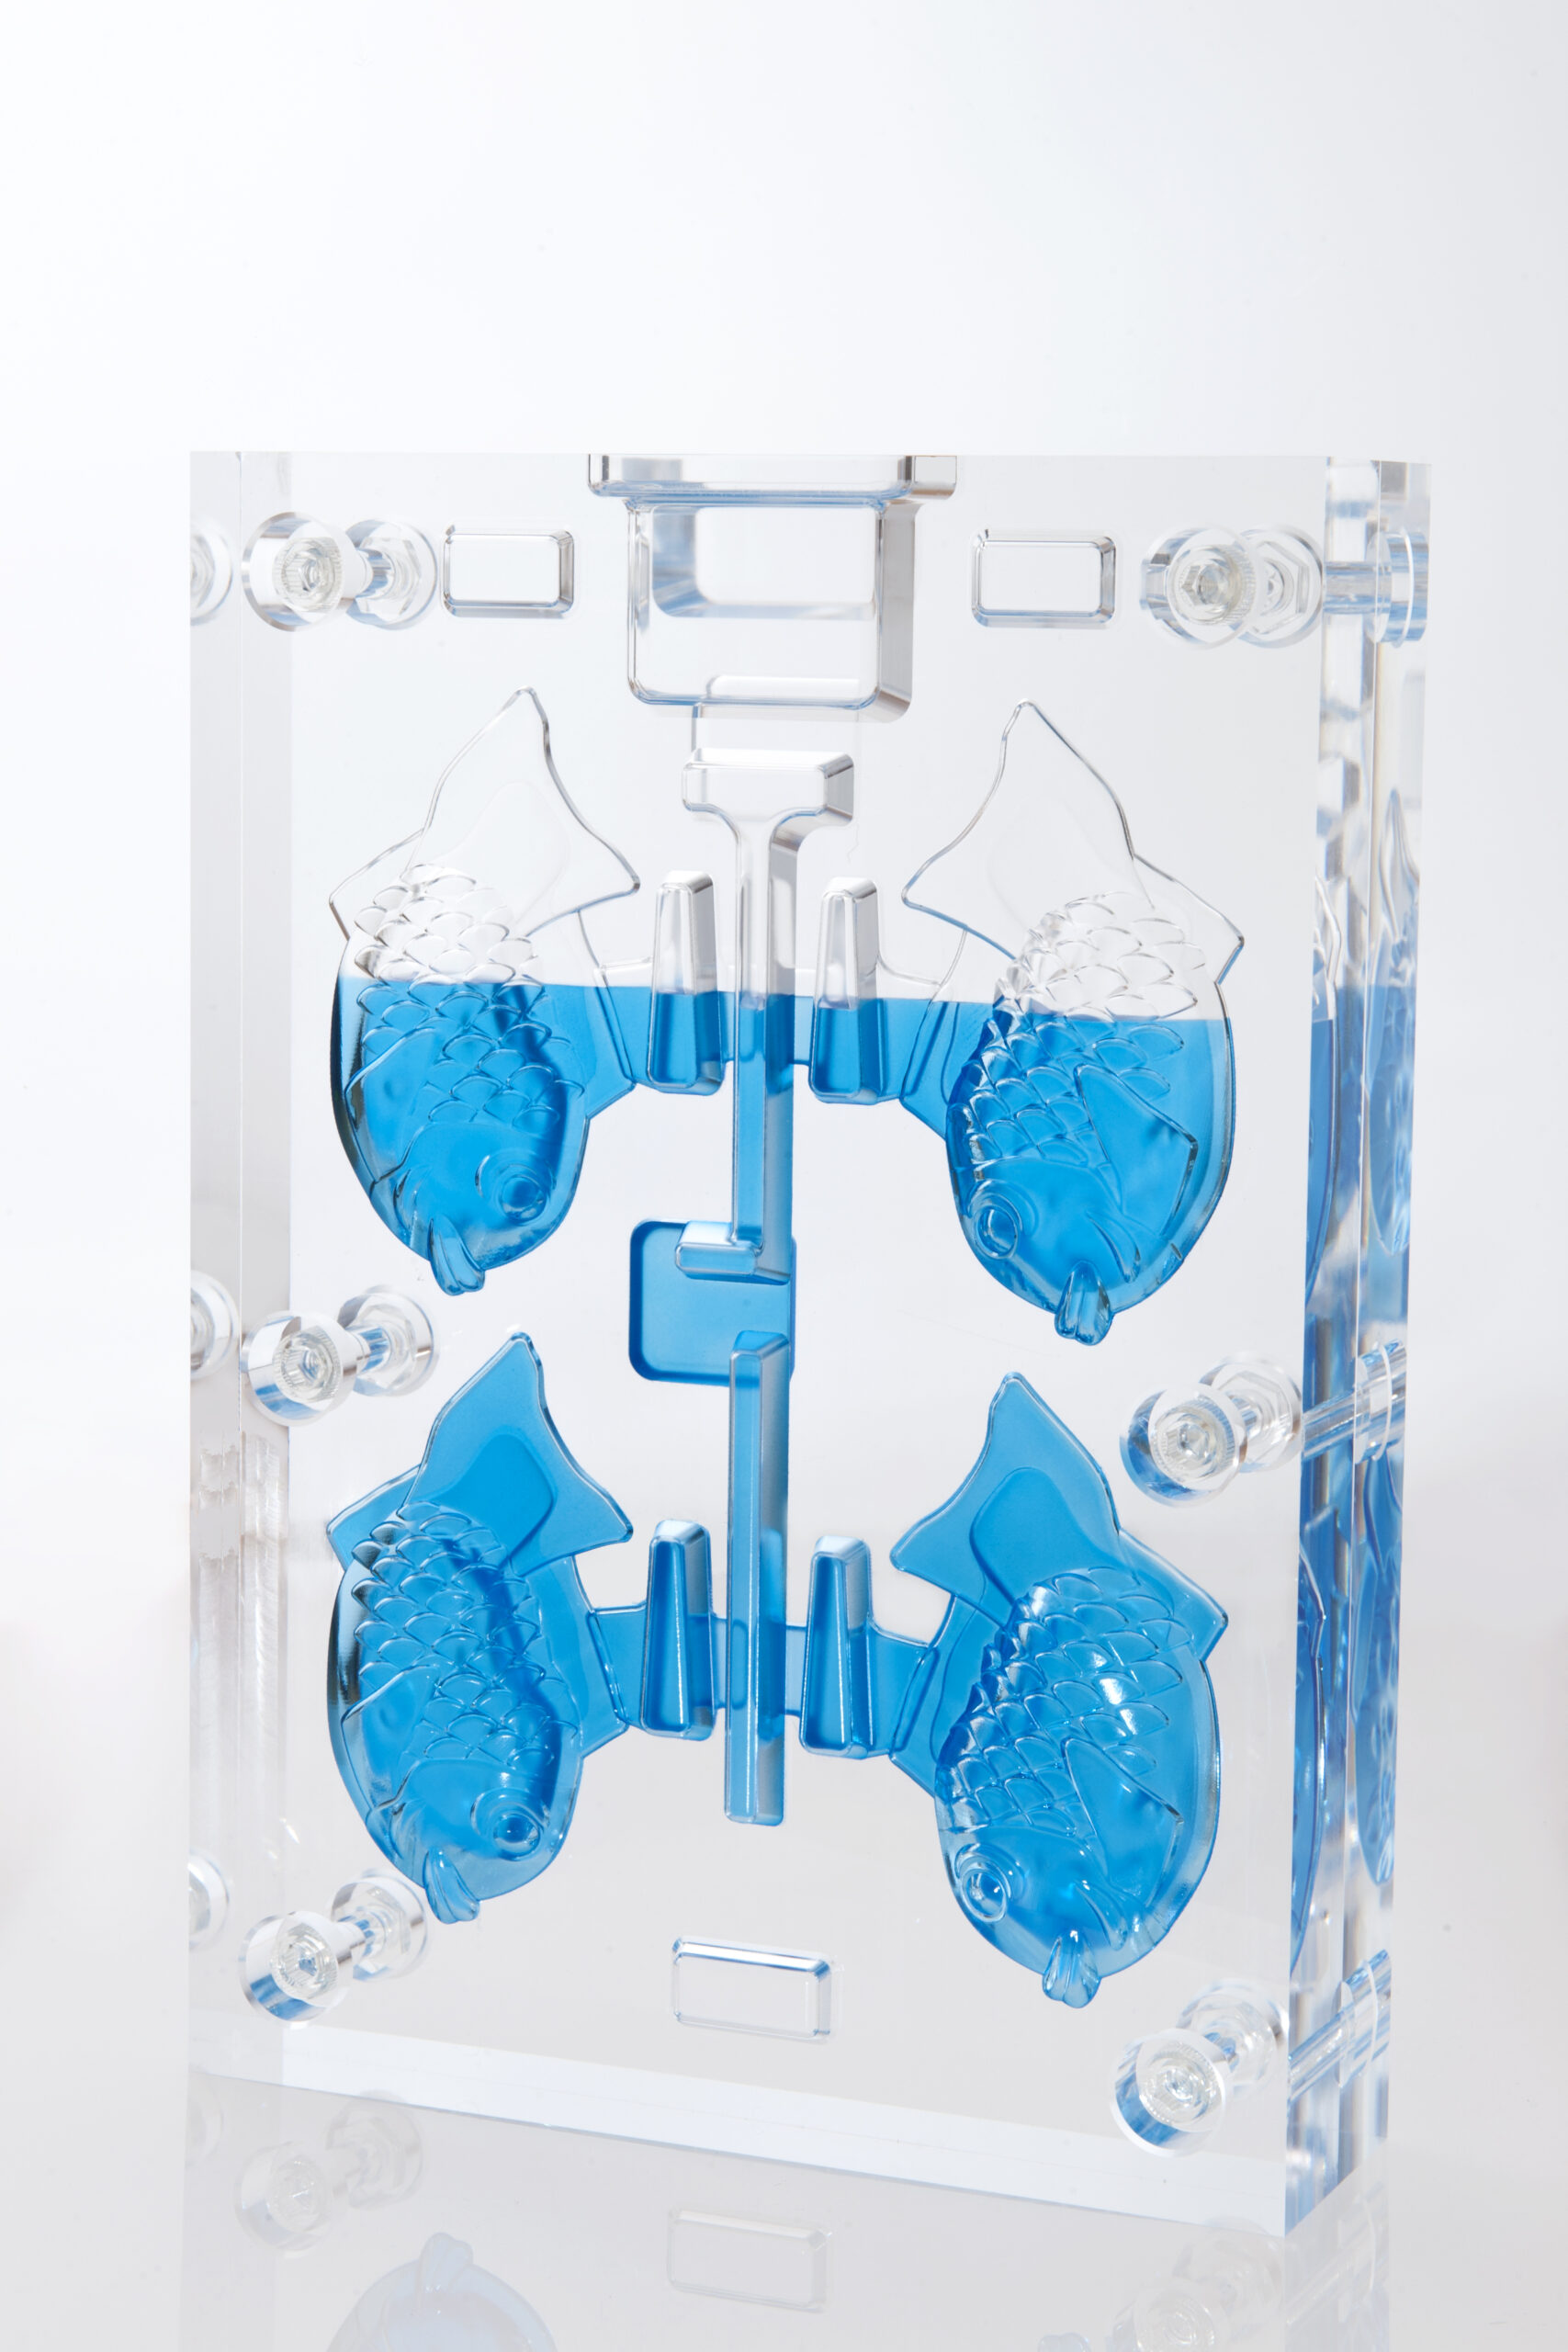
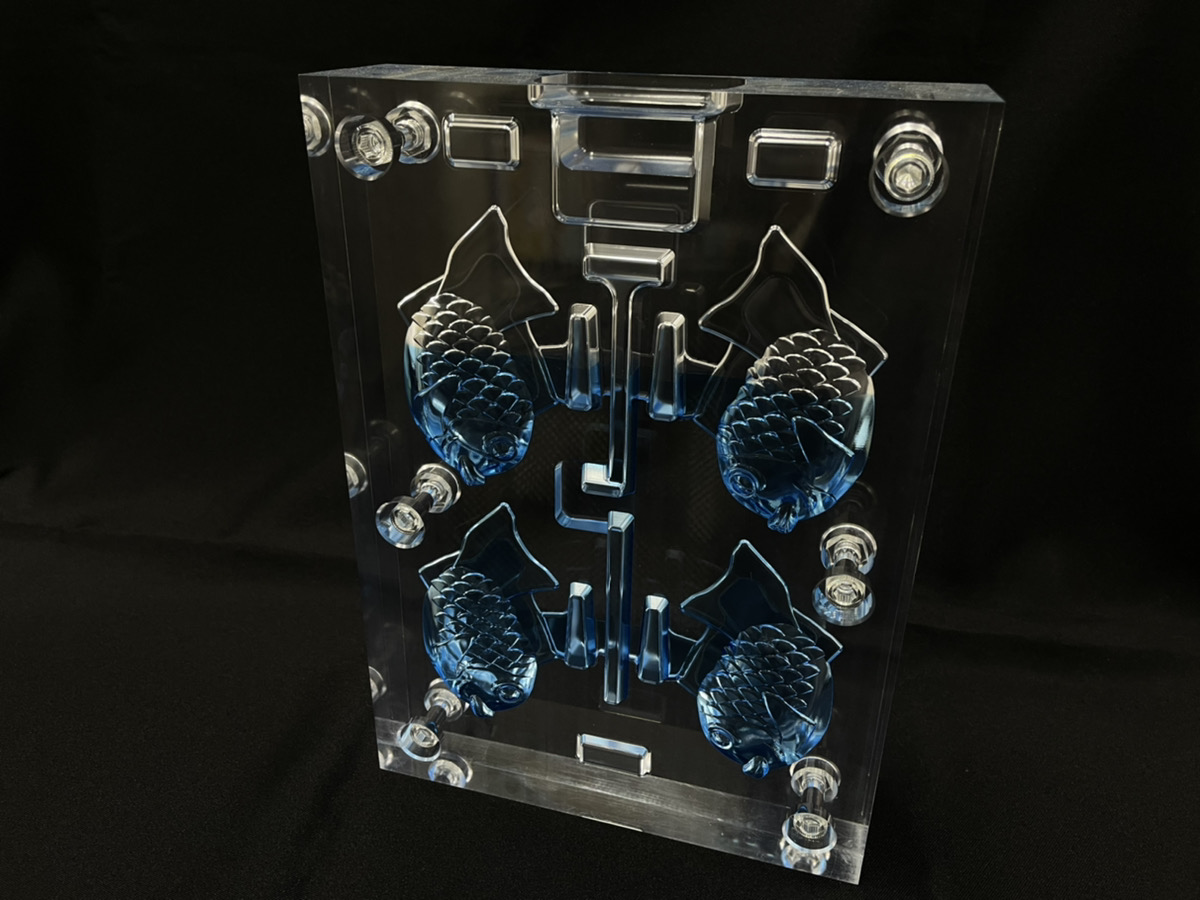
This portfolio piece showcases a transparent acrylic mold used for flow analysis. By filling the mold with water, engineers can directly observe the internal flow of material — making it a practical tool for identifying the causes of molding defects such as short shots and blowholes.

Why Acrylic (PMMA)?
Acrylic resin offers a transparency rate of approximately 93%, which exceeds that of glass (approximately 90%). This exceptional clarity makes it ideal for models requiring precise visibility of internal shapes and flow behavior, as well as applications such as lens cut models and display monuments.
INAC’s Strengths in Acrylic Machining
INAC machines acrylic using a proprietary end mill developed in collaboration with a leading blade manufacturer. This approach delivers several key advantages:

  • No manual polishing required — eliminating a process that can compromise dimensional accuracy
  • High machining precision, enabling faithful reproduction of detailed shapes such as lens cuts
  • Dry cutting method — minimizing adhesion of chemical substances from cutting fluid to the workpiece
  • High transparency reproduced directly from machining, without secondary finishing

Applications

  • Flow analysis models (internal visualization for flow behavior and defect diagnosis)
  • Lens cut models and optical components
  • Display and exhibition models requiring intricate design detail

Please feel free to contact us.
Experienced designers will support you through to prototype completion.

STEP5: Quality Assurance and Precision Inspection

A quality inspection is performed. At INAC, where quality comes first, we use CMMs, gauges, and other equipment for precision checks.

STEP4: Post-Processing and Finishing

Finishing is done by removing the supports, polishing, and applying transparency treatment. It is also possible to paint and apply plating to the formed product.

STEP3: UV-Laser Print Formation (SLA Process)

Output: The product is formed by irradiating the liquid with a laser beam of UV light and laminating it. The conditions of the external environment, such as room temperature and humidity, must be maintained.

STEP2: Model Program Generation and Support Adjustment

A program for model formation is created. Depending on the shape, it may be necessary to adjust the degree of tilt and the position of the supports.

STEP1: CAD File Submission

Upload your CAD to our online quoting platform.

STEP 3: Rendering and Scene Integration

We can also handle exterior modeling and interior structure design based on illustrations. After creating the 3D models, we can create a rendering to fit a scene. We can deliver images even if we do not proceed with production.

STEP 2: Detailed Design and 3D Modeling

Once the design is determined, drawings and 3D models will be created. The structure will be examined, taking into consideration not only the external design but also functionalities such as mating and sliding.

STEP 1: Initial Design Consultation

The first step is a meeting to discuss the project. Drawings are not required for this meeting. We will create a design from a sketch based on the overall image and concept that you have in mind.

STEP5: Quality Assurance and Inspection

We perform quality inspections. At INAC, where quality comes first, we use CMMs, gauges, and other equipment for precision checks.

STEP4: Post-Casting Finishing

Vacuum casting materials are cured and then taken out of the silicone rubber mold. Then we perform finishing such as deburring and gating, and they are made into finish products.

STEP3:Material Injuction

Liquid casting material is injected into the silicone rubber mold in a vacuum environment. 

STEP2: Mold Preparation

The silicone mold is cut open into a male and female mold, and the master model is removed.

STEP1: Mold Creation

The master model is fixed to a wooden frame and silicone is poured to create a mold.