Prototyping with
Simple Injection Molding Service
What We Offer
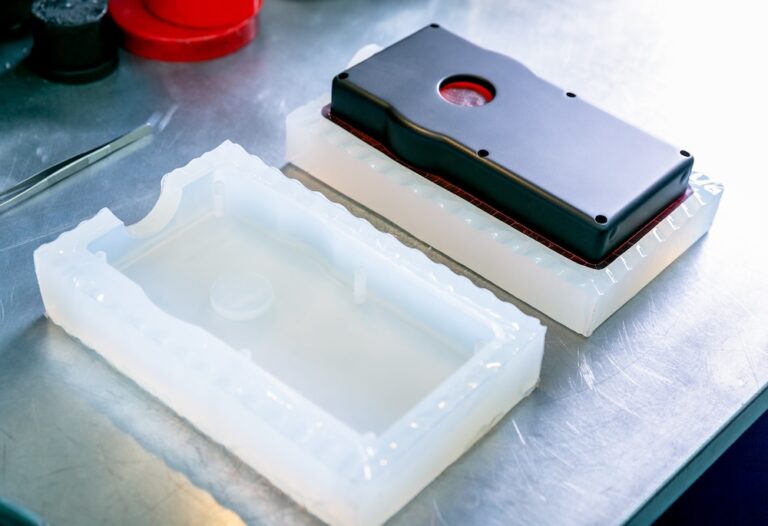
Prototyping with Simple Injection Molding service utilizes aluminum molds that offer a streamlined approach to creating prototypes and transitioning smoothly to medium-scale production. This method is not only faster but also more cost-effective compared to traditional molding techniques.
At INAC US, we understand that flexibility and efficiency are crucial when developing new products. That’s why our simple injection molding service is designed to handle frequent design modifications and quick turnarounds, making it ideal for producing a variety of small to medium quantities.
Whether you’re in the initial stages of prototyping or ready to scale up, our aluminum molds, crafted from precise 3D data used during prototyping, ensure a seamless transition to mass production without the need for extensive rearrangements.
Choose INAC US for your prototyping needs and experience the advantage of our simple injection molding service today.
Specifications
| Materials | Materials for injection can be specified upon request. |
|---|---|
| Standard Lead Time | Approximately 2 weeks, but depends on the shape and quantity |
| General Tolerances | 0.0038 to 0.0187 inches |
| Finishing Options | Grain processing is available. |
| Minimum order quantities | 1 |
Past Works
Simple injection molding
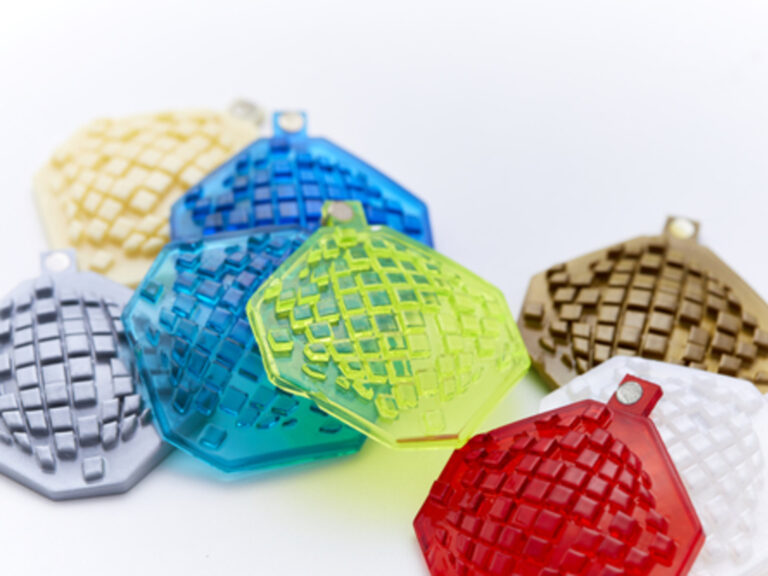
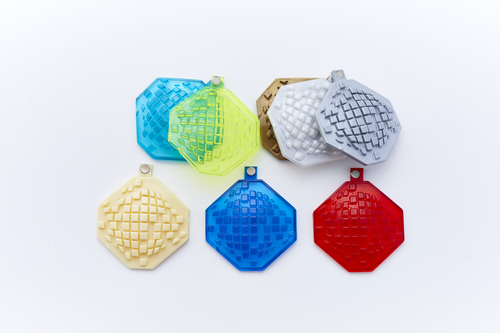
Vacuum cast items can be colored and toned in accordance with color sample.
Color Variation
- Clear
- Clear color
- Solid clor
- Pearl color
- Glitter
Material Variation
- ABS like
- PP like
- Acrylic like
- Elastomer
vs. Other Processing Methods
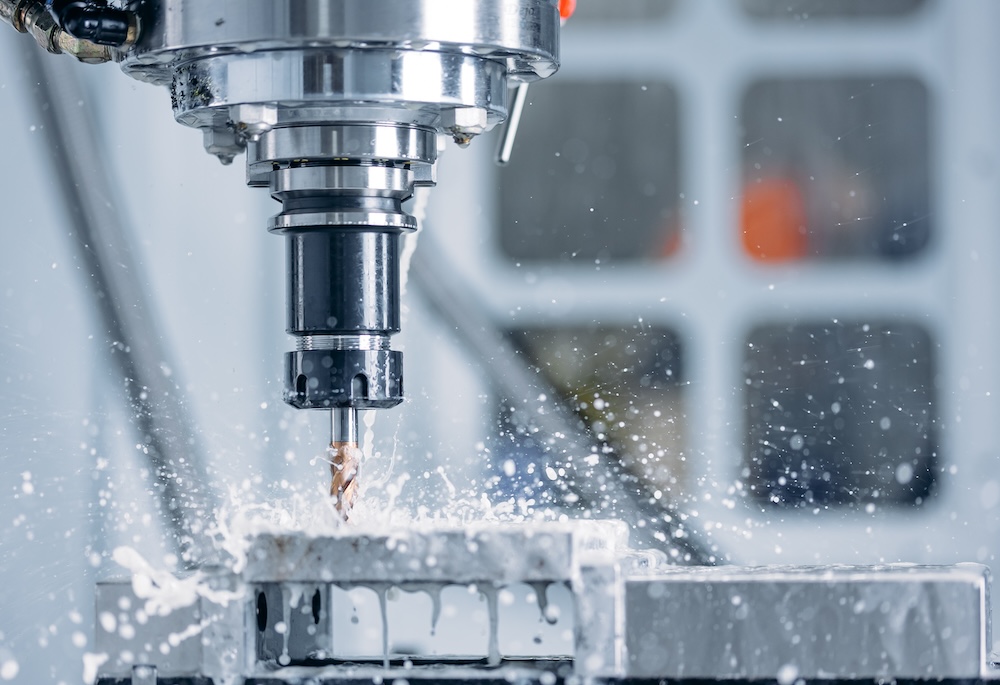
vs. CNC Machining
Advantages of simple injection molding:
- Economical for large volumes as the same mold can be used repeatedly.
- Offers high repeatability and good surface finish.
- Allows for the use of a wide range of materials.
Disadvantages of simple injection molding:
- Initial costs are high due to the need for mold creation.
- Not ideal for design changes as each change requires a new mold.
- Longer lead times compared to CNC Machining.
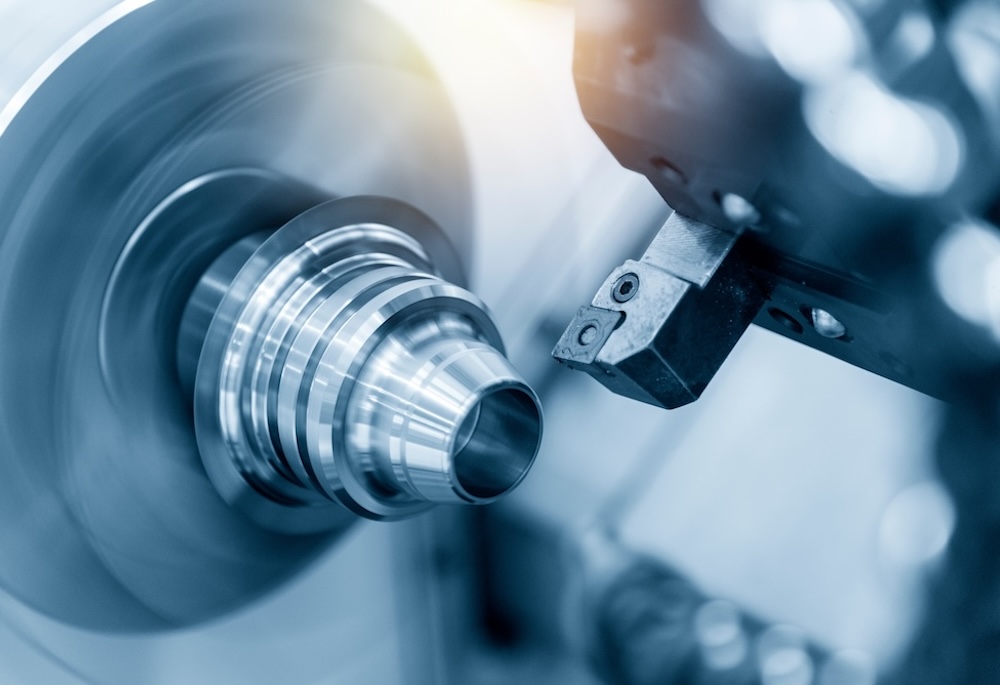
vs. Turning/Lathing
Advantages of simple injection molding:
- More cost-effective for large volumes compared to 3D printing.
- Better surface finish and precision.
- Supports a wider range of materials.
Disadvantages of simple injection molding:
- Not as quick for producing single prototypes.
- Less flexible for design changes compared to 3D printing.
- Requires molds, which can be expensive and time-consuming to create.
vs. 3D Printing
Advantages of simple injection molding:
- More suitable for large-scale production due to mold reusability.
- Produces parts with consistent quality and good surface finish.
- Can handle a wide range of materials.
Disadvantages of simple injection molding:
- Less ideal for one-off prototypes or low volumes.
- Design alterations require new molds.
- Longer set-up times compared to lathe processing.
vs. Vacuum Casting
Advantages of simple injection molding:
- Provides better accuracy and repeatability.
- More suitable for large production runs.
- Can accommodate a wider range of materials.
Disadvantages of simple injection molding:
- Higher initial costs due to mold creation.
- Less flexible for design changes compared to vacuum casting.
- Not as quick for producing single prototypes.
FAQs
8.27 x 11.69 x 2.36 inches
Materials containing pellet material can basically be injection molded.
Please consult with us for materials containing glass or fibers. Molding with supplied materials is also possible.
The following factors affect cost: material, form, dimensional accuracy, finish level, delivery date, quantity.
We can accept solid 3D CAD models in IGES (.igs), STEP (.stp) or PARASOLID(.x_t).
Get In Touch!
If you have something you want to make, please contact us. Even a rough idea is OK.
We will give shape to your idea and deliver it to you. Please feel free to contact us.
