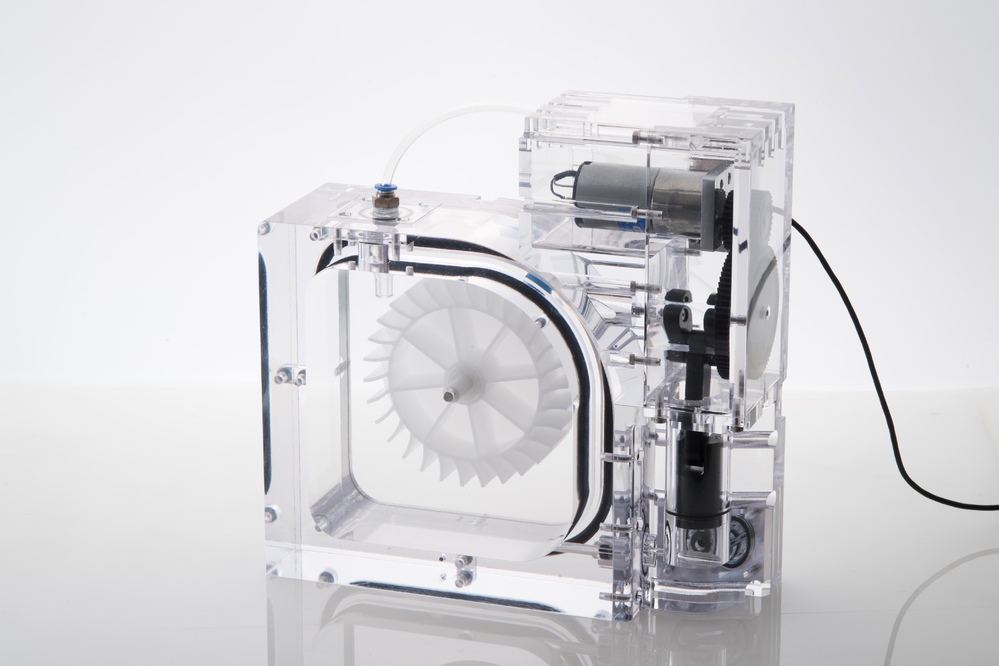
INAC offers design and modeling services for mechanism and housing development, supporting projects from initial concept through prototype completion. Our Design and Development Department works directly with your team to transform ideas into functional prototypes.
Design from Concept to CAD
We create design solutions, 3D modeling, mechanism design, and housing design based on your drawings, sketches, or concepts. INAC can design housings even from hand-drawn sketches.
Development Process
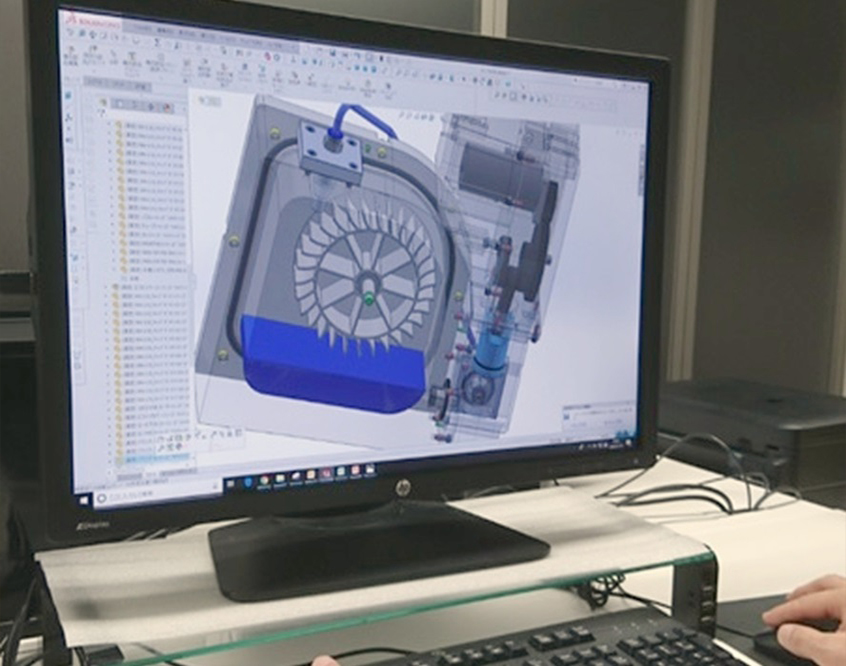
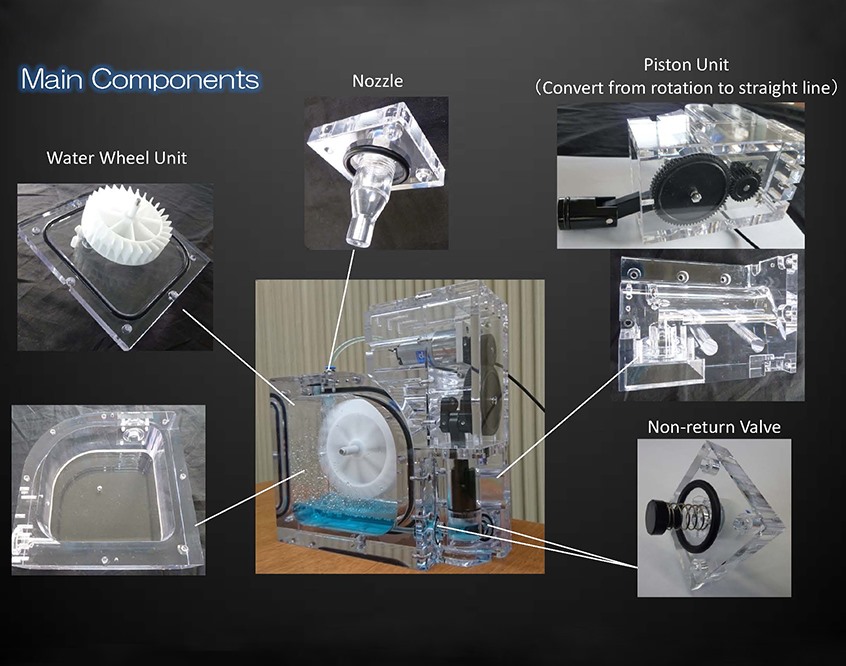
The process begins with an initial design consultation where drawings are not required. We create designs from sketches based on your overall image and concept. Once the design is determined, drawings and 3D models are created, examining both external design and functionalities such as mating and sliding.
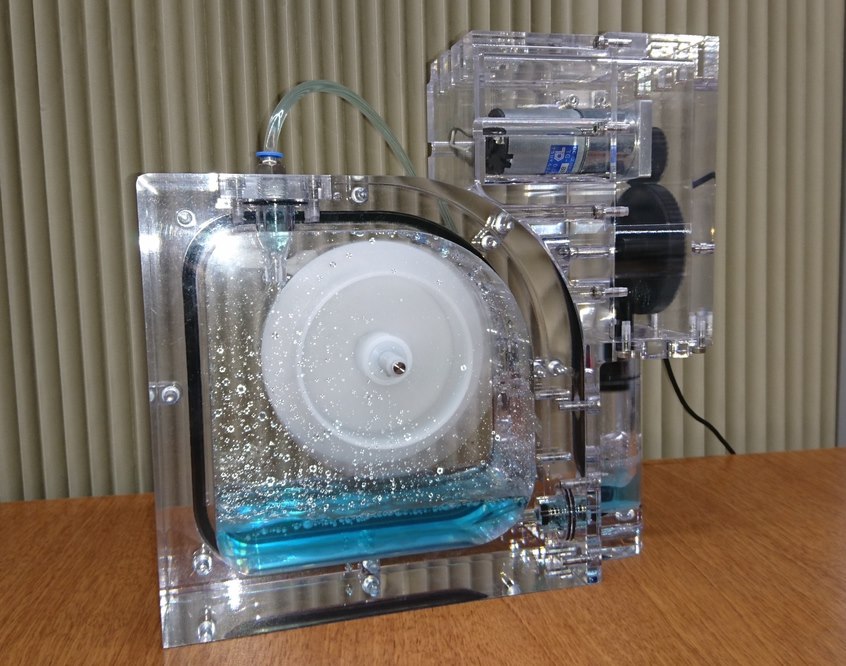
After design verification, we proceed with prototype manufacturing. Decoration processes such as painting and plating can be applied if necessary. We provide follow-up support for design changes after prototype delivery.
Design Support
Our experienced team specializes in engineering your concepts and requirements into functional reality, supporting projects from initial ideas through prototype completion. We focus on transforming your specific design vision into manufacturable 3D models and mechanisms.