The vacuum injection method uses a silicon mold instead of a metal mold to inexpensively duplicate a product. If the actual product is available, the same shape can be produced even without 3D data.
The feature of this method is the ability to produce rubber-like and colored products. The vacuum injection method enables extremely short delivery times by using in-house 3d printers to produce the master model.
Why Choose Us
Short lead time
By using a 3D printed model as a master model for the vacuum casting process, it is possible to deliver in the ultra-shortest time.
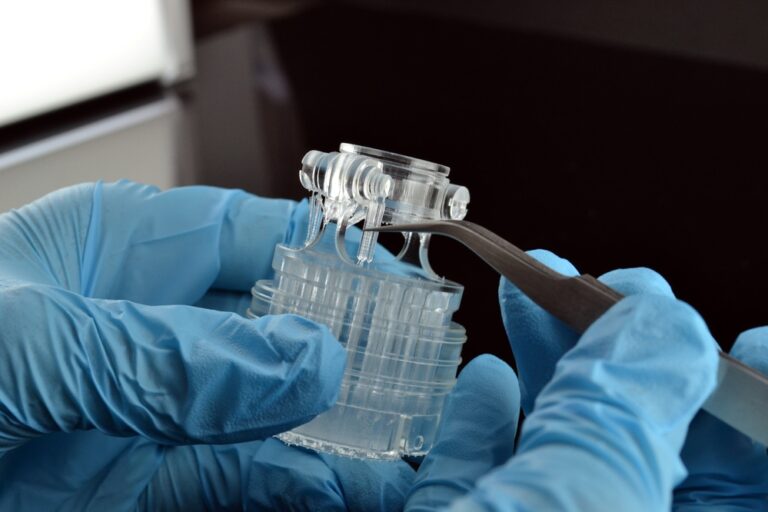
Support structure removal
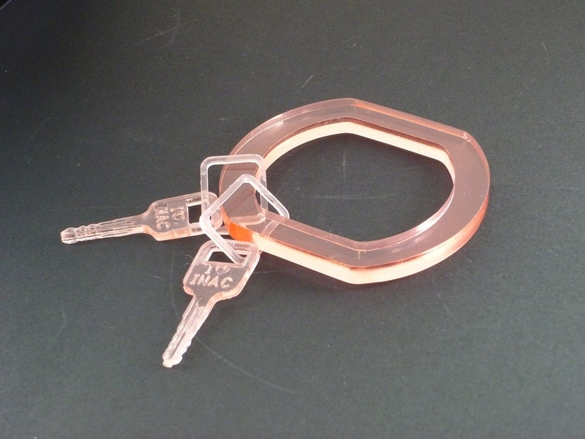
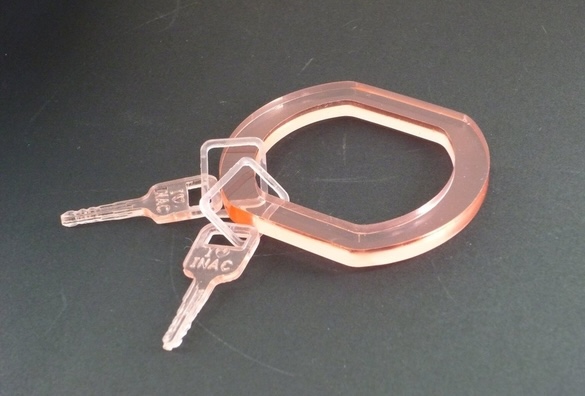
Vacuum casted key sample
Cost Advantages
The initial cost is less than half that of the mold-based production method.
Proficient Skills
INAC US can produce complex shapes and multi-color injection products that other companies cannot.
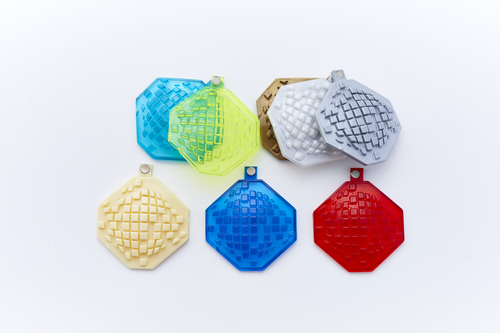
Colored vacuum casted samples
Materials for Vacuum Casting
ABS like (urethane based)
ABS-Like, a versatile polyurethane plastic, closely simulates the properties of ABS thermoplastic, making it an excellent choice for a wide range of parts produced through vacuum casting.
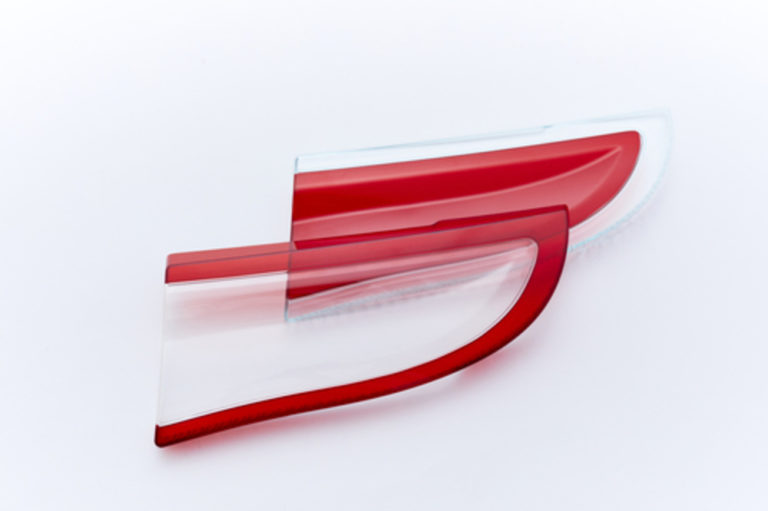
Acrylic like
(urethane based)
Acrylic like vacuum injection products are transferred directly from the quality of the master model, so the transparency is derived from the master model. The disadvantage is the tendency to tarnish compared to actual acrylic.
Elastomer like (urethane based)
Elastomer like is available in a choice of hardness in 5 degree increments. This material can be colored or made transparent.
The vacuum injection method allows the production of prototypes of the same shape in different colors at a low cost. This method is used by designers to study color variations.
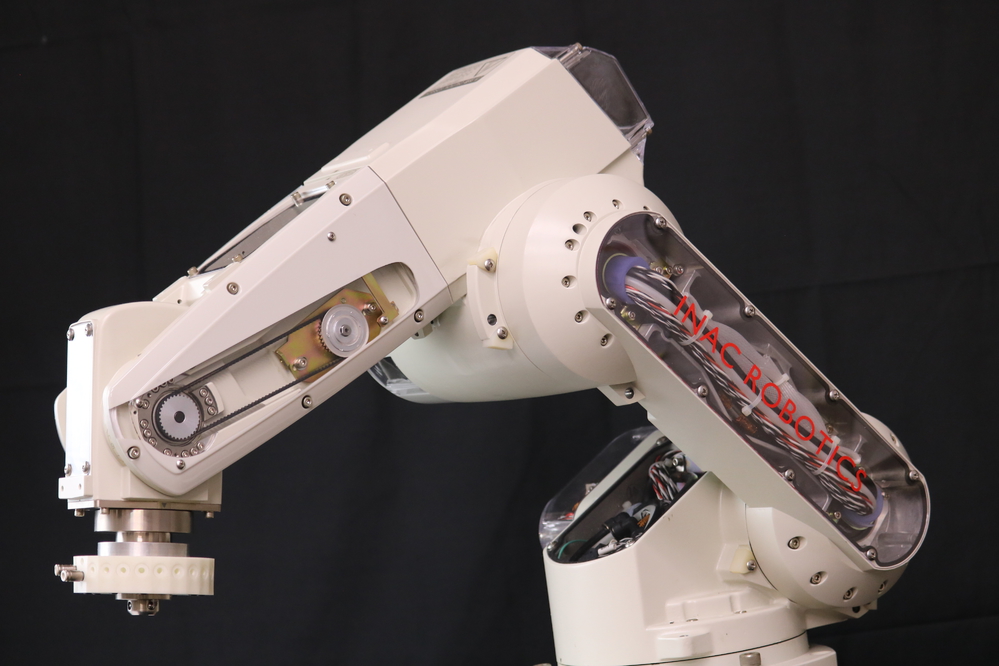
Visualization Model
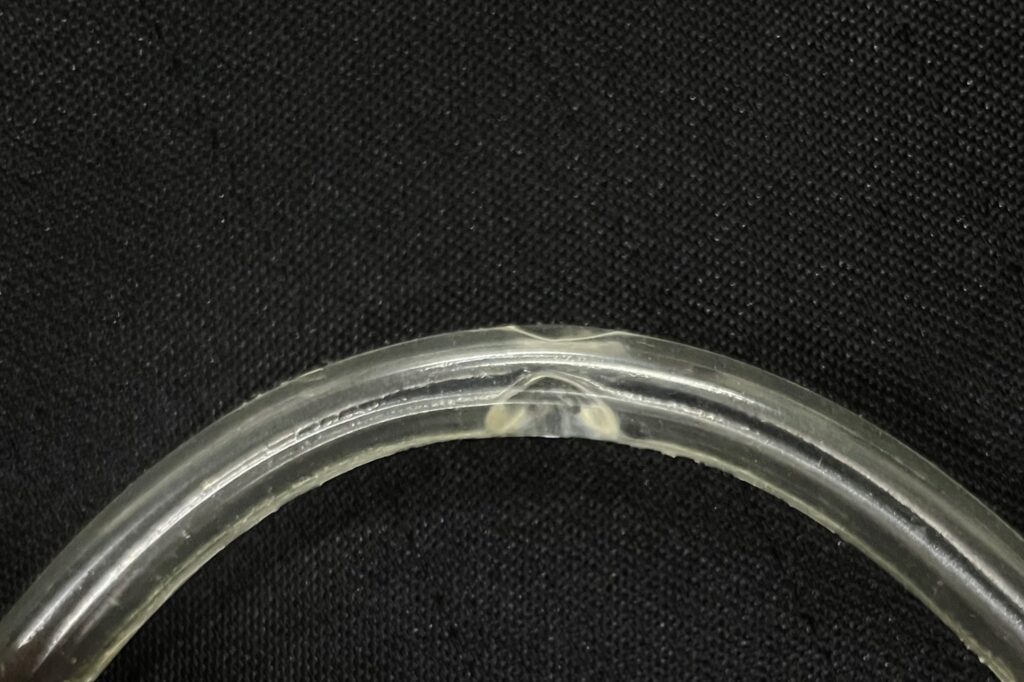
It is possible to produce a transparent product without 3D data or drawings because an inverted model can be created from the actual product and duplicated. By visualizing the inside of a machine or robot, it contributes to the detection of defects and streamlining of maintenance work.
Small lot manufacturing
Suitable for small-lot production of parts that do not necessarily require a mold. Approximately 20 shots can be produced from a single silicon mold.
Finishing Options
No finishing
Surfaces will have the same finish and texture of the master model.
Blasting
By applying sand or walnut to the surface, the surface is made pear-like. The finish will resemble graining texture.
Painting and Plating
Paint or plating can be applied through special pretreatment before decoration.
Past Works
Simultaneous multi-color vacuum casting
We can handle sizes up to about the size of the front grill of a car. Most have one color, but we have the technology that allows multicolor casting such as two colors and three colors.
Mock-up design utilizing partial visualization of robot arm. The transparency of the robot arm cover visualization allows greater ease to check the status of internal mechanisms, improves maintainability and reduces inspection times.
All products manufactured by the vacuum injection method are made of polyurethane resin. There are various grades of polyurethane resin, such as PP-like, ABS-like, elastomer-like, etc.
Compared to metal molds, the cost of molds can be significantly reduced. Also, silicon molds are soft and can be used for complex shapes such as undercut shapes.
The master model is fixed to a wooden frame and silicone is poured to create a mold.
STEP2: Mold Preparation
The silicone mold is cut open into a male and female mold, and the master model is removed.
STEP3:Material Injuction
Liquid casting material is injected into the silicone rubber mold in a vacuum environment.
STEP4: Post-Casting Finishing
Vacuum casting materials are cured and then taken out of the silicone rubber mold. Then we perform finishing such as deburring and gating, and they are made into finish products.
STEP5: Quality Assurance and Inspection
We perform quality inspections. At INAC, where quality comes first, we use CMMs, gauges, and other equipment for precision checks.
STEP5: Quality Assurance and Precision Inspection
A quality inspection is performed. At INAC, where quality comes first, we use CMMs, gauges, and other equipment for precision checks.
STEP4: Post-Processing and Finishing
Finishing is done by removing the supports, polishing, and applying transparency treatment. It is also possible to paint and apply plating to the formed product.
STEP3: UV-Laser Print Formation (SLA Process)
Output: The product is formed by irradiating the liquid with a laser beam of UV light and laminating it. The conditions of the external environment, such as room temperature and humidity, must be maintained.
STEP2: Model Program Generation and Support Adjustment
A program for model formation is created. Depending on the shape, it may be necessary to adjust the degree of tilt and the position of the supports.
STEP1: CAD File Submission
Upload your CAD to our online quoting platform.
STEP 3: Rendering and Scene Integration
We can also handle exterior modeling and interior structure design based on illustrations.
After creating the 3D models, we can create a rendering to fit a scene. We can deliver images even if we do not proceed with production.
STEP 2: Detailed Design and 3D Modeling
Once the design is determined, drawings and 3D models will be created.
The structure will be examined, taking into consideration not only the external design but also functionalities such as mating and sliding.
STEP 1: Initial Design Consultation
The first step is a meeting to discuss the project. Drawings are not required for this meeting. We will create a design from a sketch based on the overall image and concept that you have in mind.